Laravel - 24. ミドルウェア - ルートミドルウェア
引き続きミドルウェアについて学習していきましょう。前節では 'web' グループのルートに対してミドルウェアを適用しました。ここでは特定のルートにだけミドルウェアを適用する方法を見ていきましょう。
ミドルウェアを特定のルートに適用するには app/Http/Kernel.php ファイルの $routeMiddleware 変数を修正します。
<?php

namespace App\Http;

use Illuminate\Foundation\Http\Kernel as HttpKernel;

class Kernel extends HttpKernel
{
    # 省略...

    protected $middlewareGroups = [
        'web' => [
            \App\Http\Middleware\EncryptCookies::class,
            \Illuminate\Cookie\Middleware\AddQueuedCookiesToResponse::class,
            \Illuminate\Session\Middleware\StartSession::class,
            // \Illuminate\Session\Middleware\AuthenticateSession::class,
            \Illuminate\View\Middleware\ShareErrorsFromSession::class,
            \App\Http\Middleware\VerifyCsrfToken::class,
            \Illuminate\Routing\Middleware\SubstituteBindings::class,
        ],

        'api' => [
            'throttle:60,1',
            \Illuminate\Routing\Middleware\SubstituteBindings::class,
        ],
    ];

    protected $routeMiddleware = [
        'auth' => \App\Http\Middleware\Authenticate::class,
        'auth.basic' => \Illuminate\Auth\Middleware\AuthenticateWithBasicAuth::class,
        'bindings' => \Illuminate\Routing\Middleware\SubstituteBindings::class,
        'cache.headers' => \Illuminate\Http\Middleware\SetCacheHeaders::class,
        'can' => \Illuminate\Auth\Middleware\Authorize::class,
        'guest' => \App\Http\Middleware\RedirectIfAuthenticated::class,
        'password.confirm' => \Illuminate\Auth\Middleware\RequirePassword::class,
        'signed' => \Illuminate\Routing\Middleware\ValidateSignature::class,
        'throttle' => \Illuminate\Routing\Middleware\ThrottleRequests::class,
        'verified' => \Illuminate\Auth\Middleware\EnsureEmailIsVerified::class,
        'logging' => \App\Http\Middleware\LoggingMiddleware::class,
    ];

    protected $middlewarePriority = [
        \Illuminate\Session\Middleware\StartSession::class,
        \Illuminate\View\Middleware\ShareErrorsFromSession::class,
        \App\Http\Middleware\Authenticate::class,
        \Illuminate\Routing\Middleware\ThrottleRequests::class,
        \Illuminate\Session\Middleware\AuthenticateSession::class,
        \Illuminate\Routing\Middleware\SubstituteBindings::class,
        \Illuminate\Auth\Middleware\Authorize::class,
        \App\Http\Middleware\LoggingMiddleware::class,
    ];
}
ここでは $middlewareGroups 変数から LoggingMiddleware クラスを削除して、 $routeMiddleware 変数に 'logging' というキーで LoggingMiddleware クラスを追記します。
ミドルウェアの優先度を決める
$middlewarePriorityについては前回から変更はありません。
次にルーティングを定義している routes/web.php ファイルを編集します。
<?php

Route::get('/', function () {
    return view('welcome');
});

Route::get("/hello", "HelloController@index")->middleware("logging");

Route::get("/hello/create", "HelloController@create");
Route::post("/hello/store", "HelloController@store");
ここでは /hello へのGETリクエストのルート定義に middleware メソッドを使って 'logging' というキーを指定し LoggingMiddleware クラスと関連付けています。
準備ができたので php artisan route:list コマンドでミドルウェアの定義を確認しておきましょう。
$ php artisan route:list
+--------+----------+--------------+------+---------------------------------------------+--------------+
| Domain | Method   | URI          | Name | Action                                      | Middleware   |
+--------+----------+--------------+------+---------------------------------------------+--------------+
|        | GET|HEAD | /            |      | Closure                                     | web          |
|        | GET|HEAD | api/user     |      | Closure                                     | api,auth:api |
|        | GET|HEAD | hello        |      | App\Http\Controllers\HelloController@index  | web,logging  |
|        | GET|HEAD | hello/create |      | App\Http\Controllers\HelloController@create | web          |
|        | POST     | hello/store  |      | App\Http\Controllers\HelloController@store  | web          |
+--------+----------+--------------+------+---------------------------------------------+--------------+
URIが hello のMiddlewareに logging が追加されているのがわかります。
動作確認
それでは ミドルウェアの定義を変更したので、PHPのビルトインWebサーバを使ってWebアプリケーションを起動してみましょう。次のようにコマンドを入力します。
$ php artisan serve --host 0.0.0.0
Laravel development server started: http://0.0.0.0:8000
続いてブラウザを起動してWebアプリケーションにアクセスしてみましょう。
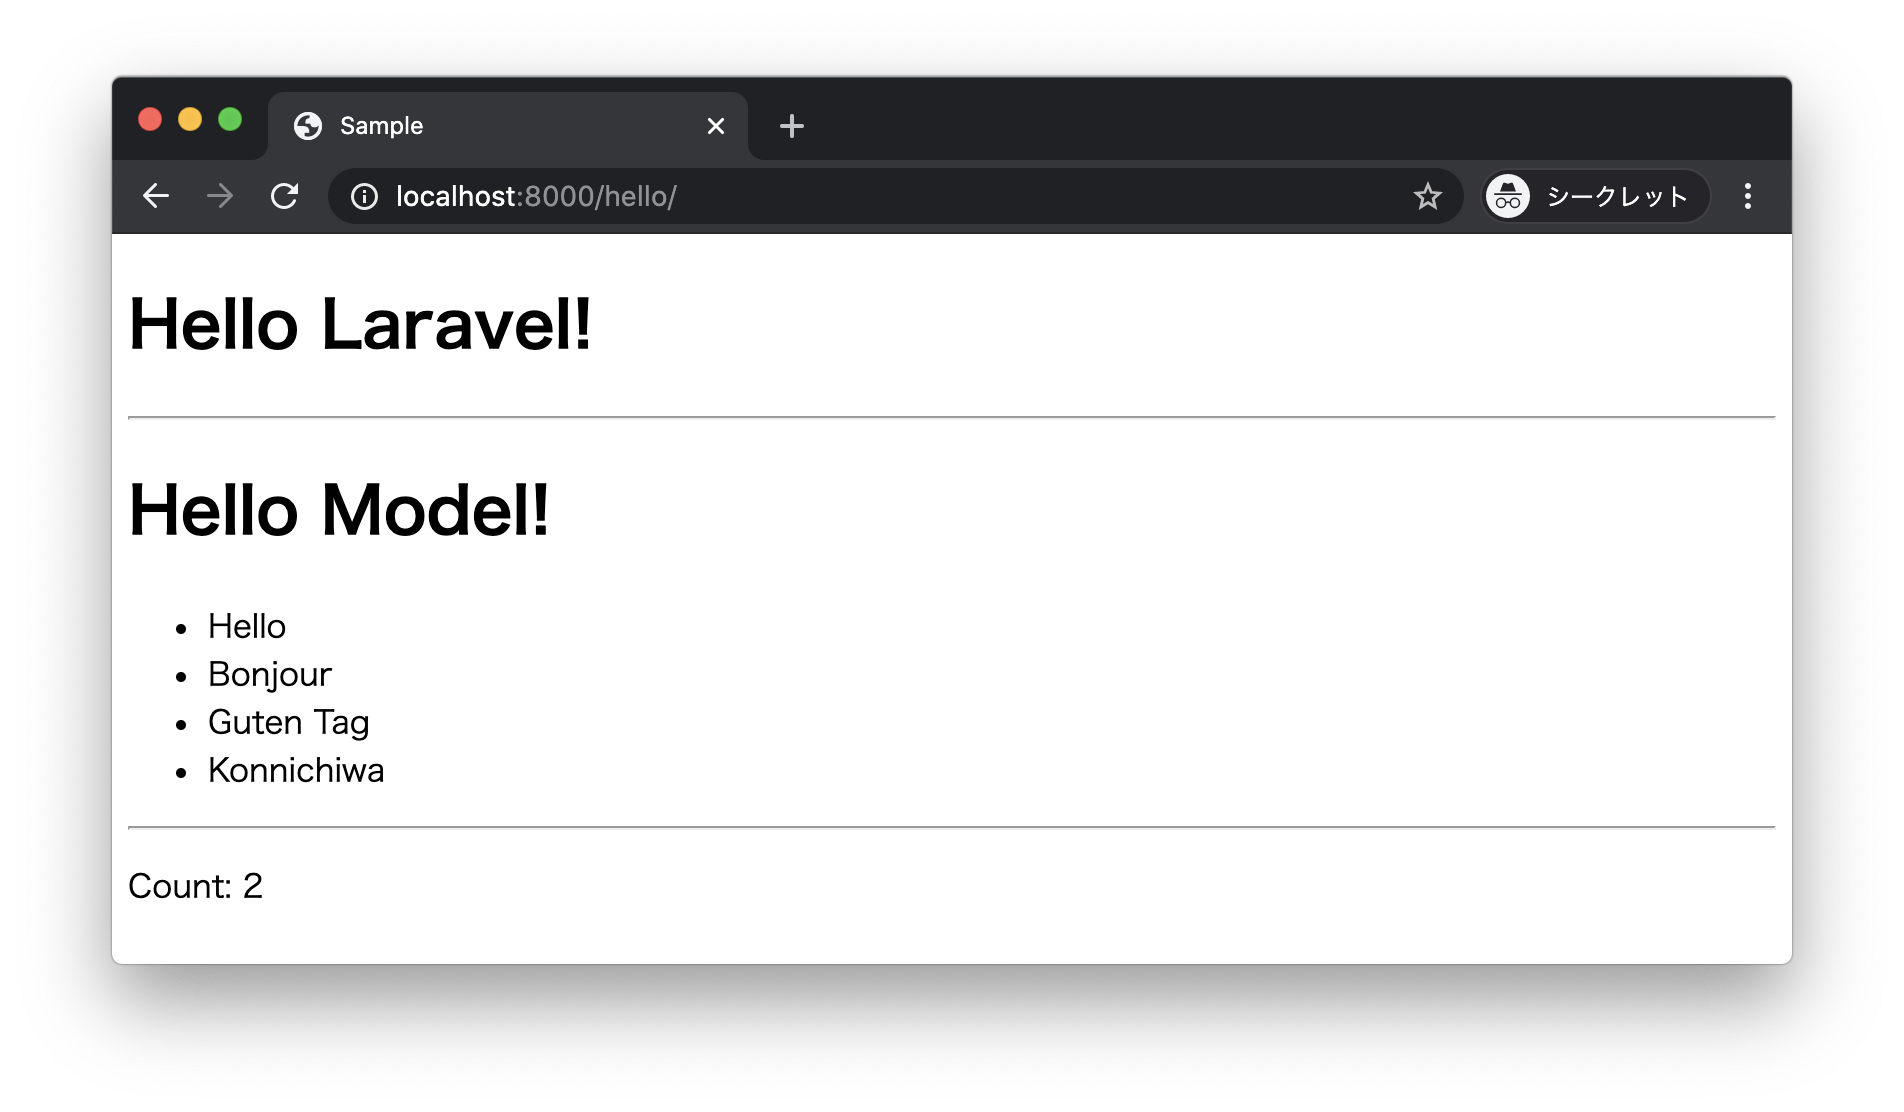
http://localhost:8000/hello
HelloController の index アクションの結果が表示されます。
もう一つアドレスバーから別のURLにアクセスしてみましょう。
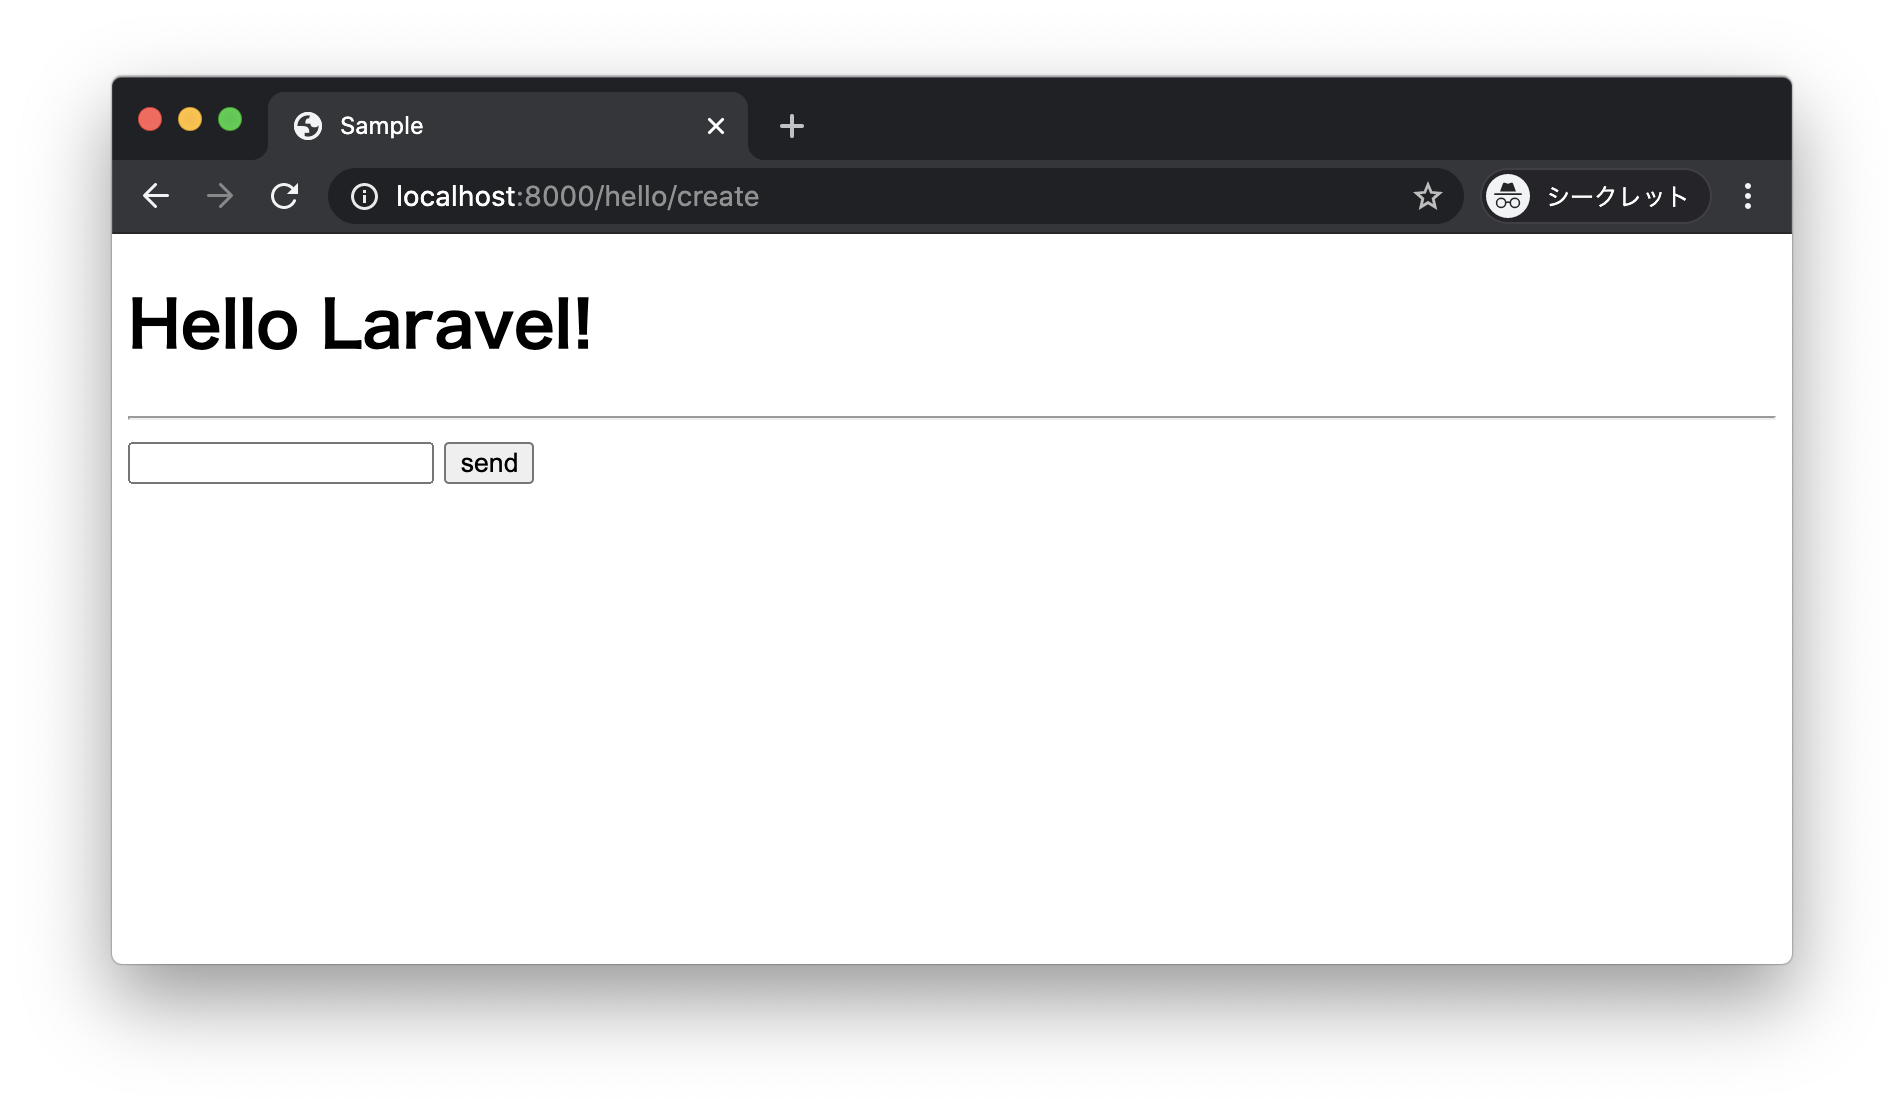
http://localhost:8000/hello/create
この場合は HelloController の create アクションの結果が表示されます。
最後にログファイル( storage/logs/laravel.log )を確認してみましょう。
[2020-09-07 22:39:21] local.INFO: hello: 146 ms ログファイルには index アクションメソッドの処理時間だけが記録されているのがわかります。このように特定のルートとミドルウェアを関連付けることができます。
まとめ
- ミドルウェアは特定のルートに紐付けることもできる
app/Http/Kernel.phpファイルで$routeMiddlewareとしてミドルウェアを定義するroutes/web.phpファイルでルートにミドルウェアを指定する